
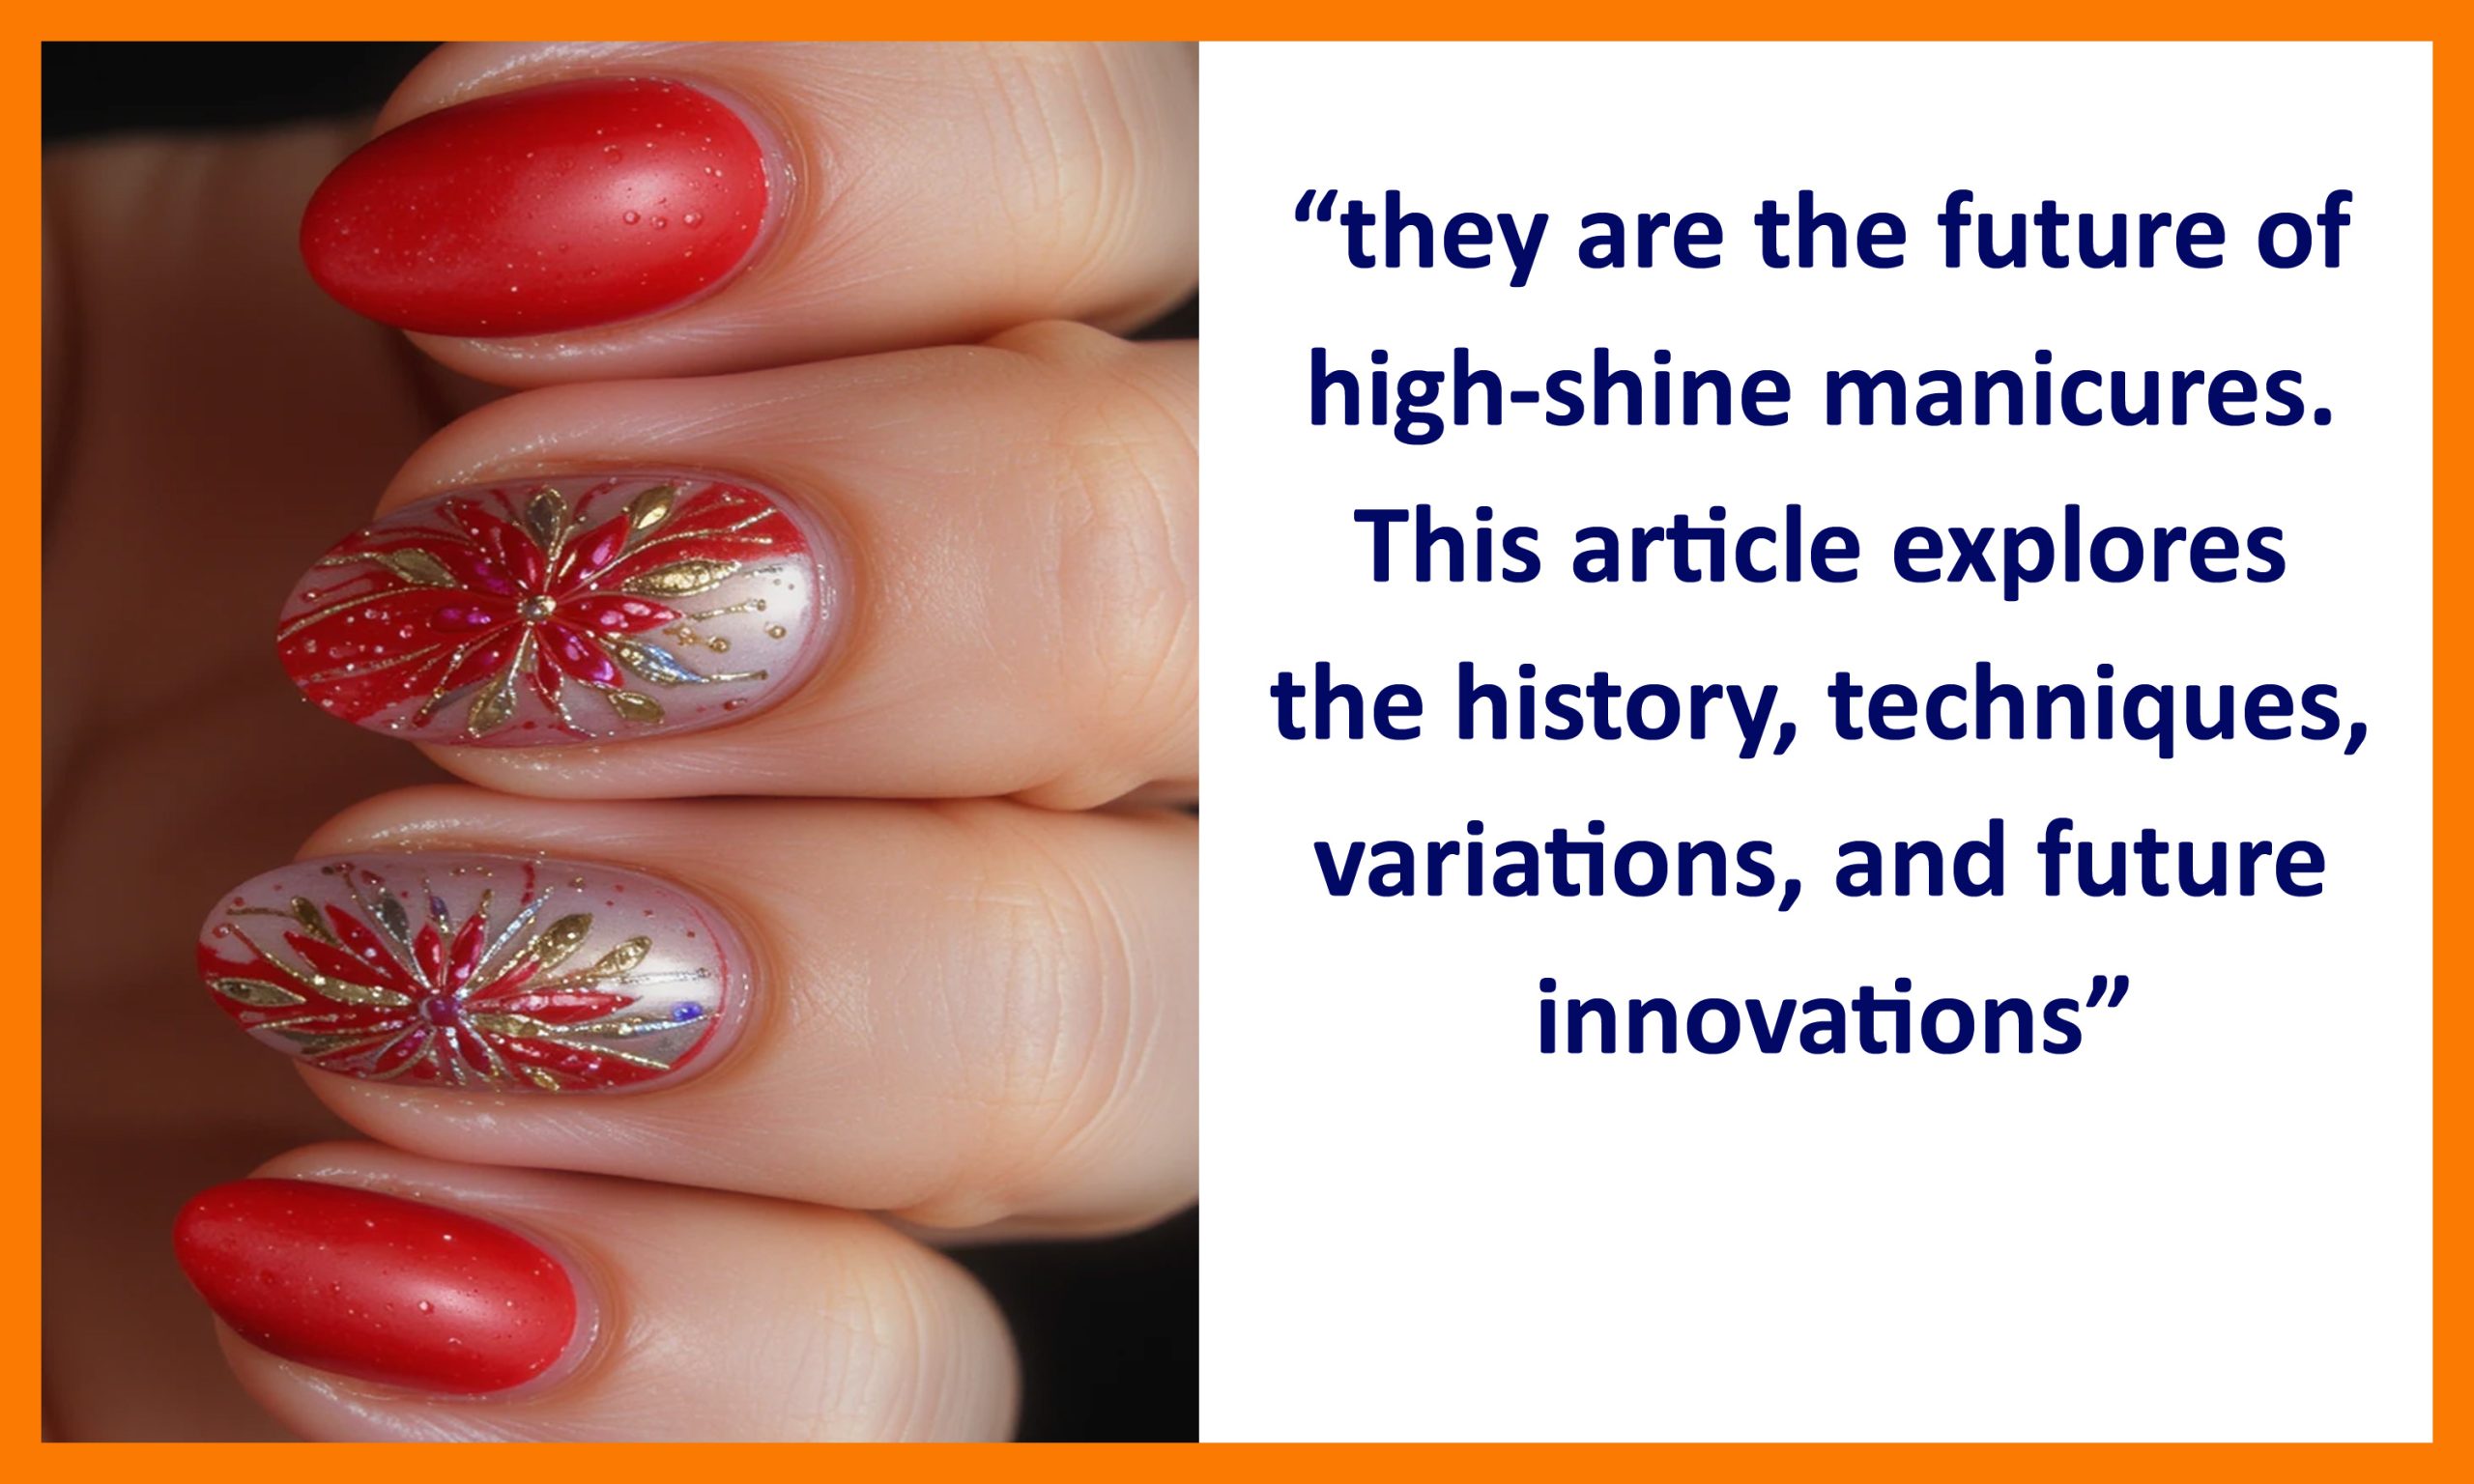
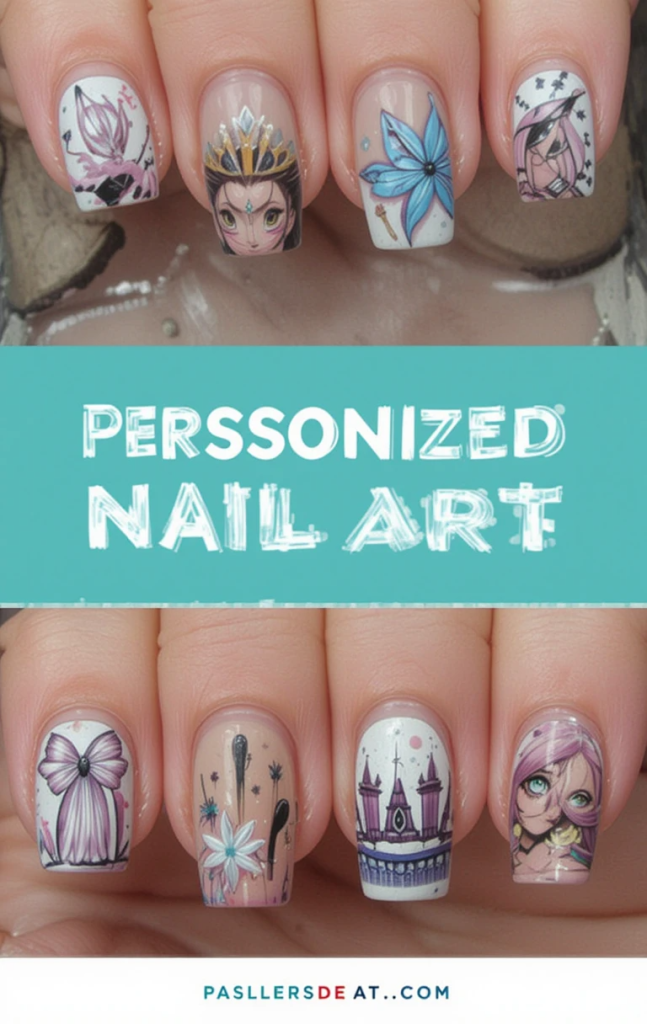
Personalized Nail Art: How to Create Custom Designs That Reflect Your Personality
Nail art has become a powerful form of self-expression, allowing individuals to showcase their creativity, personality, and unique style. Whether you prefer bold and edgy designs or soft and delicate patterns, personalized nail art gives you the opportunity to create a one-of-a-kind look that truly represents who you are. In this article, we’ll explore the art of designing custom nails, from understanding color psychology to mastering different techniques and styles.
The Importance of Personalized Nail Art
Nail art is more than just a beauty trend—it’s an artistic medium that allows individuals to express themselves. The designs, colors, and patterns you choose can reflect your personality, mood, interests, and even cultural background. By personalizing your nail art, you can create a unique aesthetic that resonates with your identity.
Benefits of Custom Nail Art
- Self-Expression: Your nails can tell a story about your style, emotions, and interests.
- Confidence Booster: Beautifully designed nails can enhance your overall look and boost your confidence.
- Creativity Outlet: Experimenting with different colors, patterns, and textures allows you to express your creativity.
- Versatility: Personalized nail art can be changed frequently to match different outfits, occasions, or seasons.
Understanding Color Psychology in Nail Art
Colors play a significant role in nail art as they evoke emotions and convey meanings. Choosing the right colors for your design can help express your personality and style.
Popular Colors and Their Meanings:
- Red: Passion, confidence, and boldness.
- Pink: Femininity, romance, and softness.
- Blue: Calmness, trust, and sophistication.
- Black: Mystery, elegance, and power.
- White: Purity, minimalism, and simplicity.
- Green: Freshness, nature, and creativity.
- Gold/Silver: Luxury, glamour, and sophistication.
By understanding the psychology behind colors, you can choose nail shades that best represent your emotions and personality.
Choosing a Nail Art Style That Matches Your Personality
Every individual has a unique personality, and your nail art should reflect that. Here are different styles to consider based on your personality type:
1. Minimalist and Elegant
If you love simplicity and sophistication, opt for minimalist nail art. Clean lines, neutral colors, and delicate details create a polished look.
- Best Designs: French tips, negative space nails, nude shades with gold accents.
- Perfect For: Professionals, introverts, and those who prefer understated beauty.
2. Bold and Edgy
For individuals who love to make a statement, bold nail art with vibrant colors and unconventional designs is ideal.
- Best Designs: Geometric patterns, metallic accents, animal prints.
- Perfect For: Trendsetters, extroverts, and fashion-forward individuals.

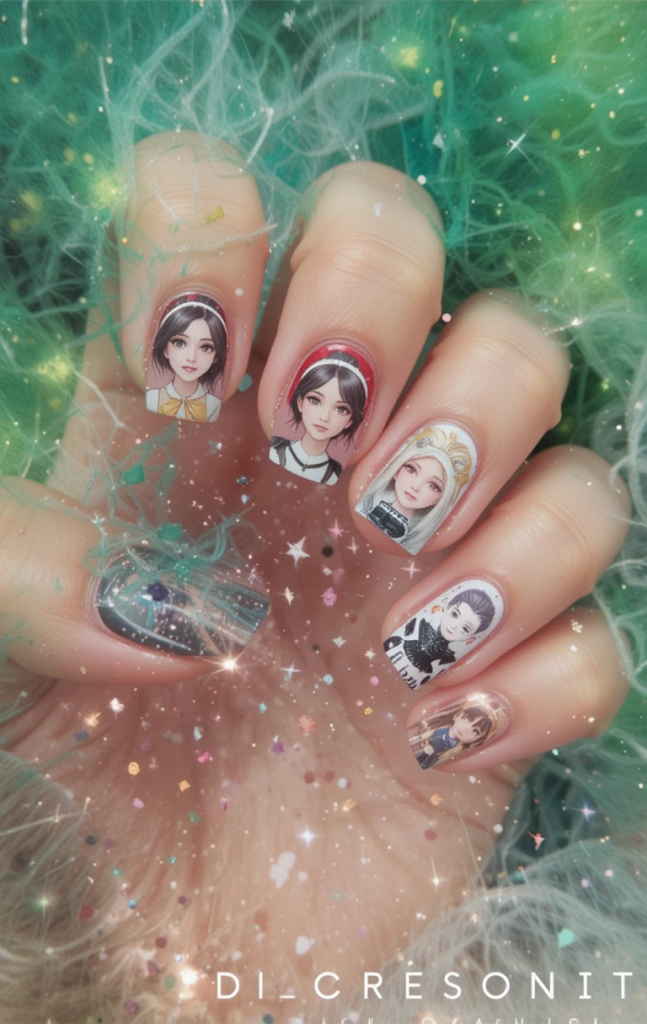
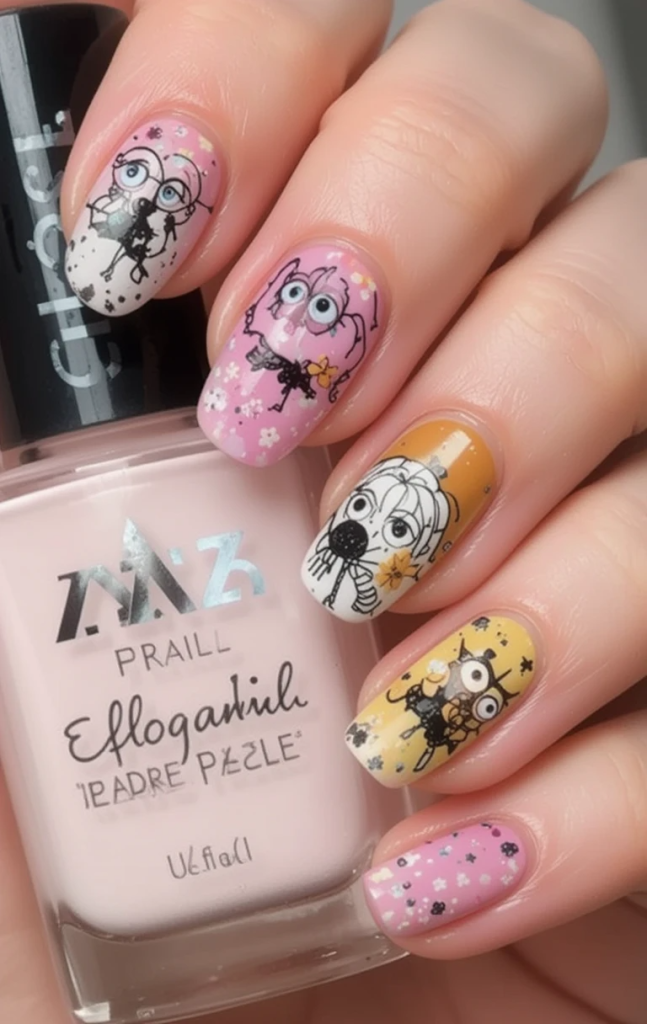
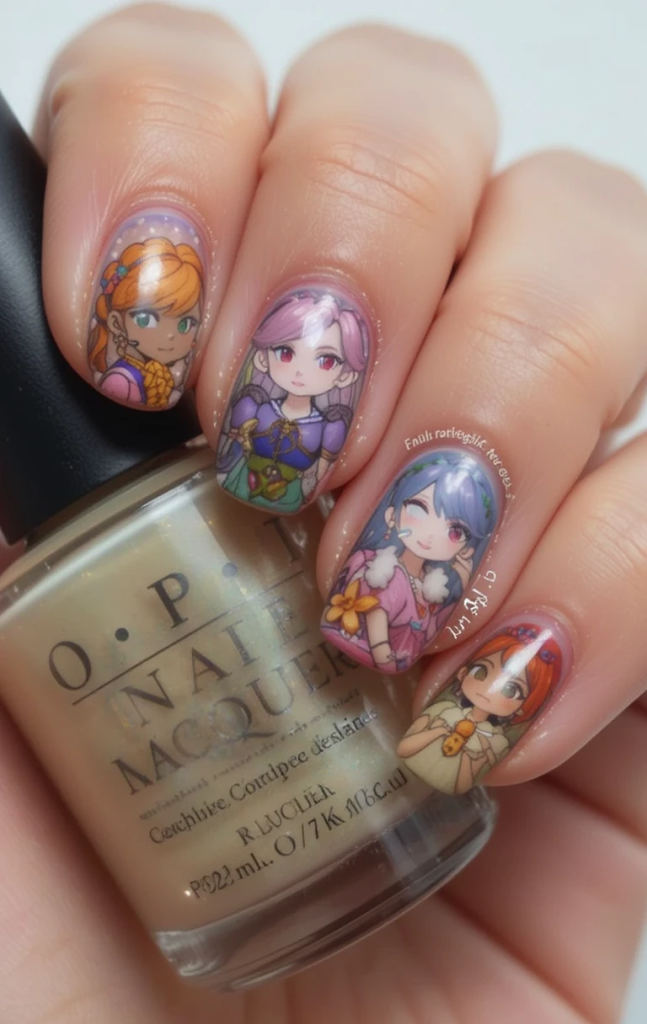
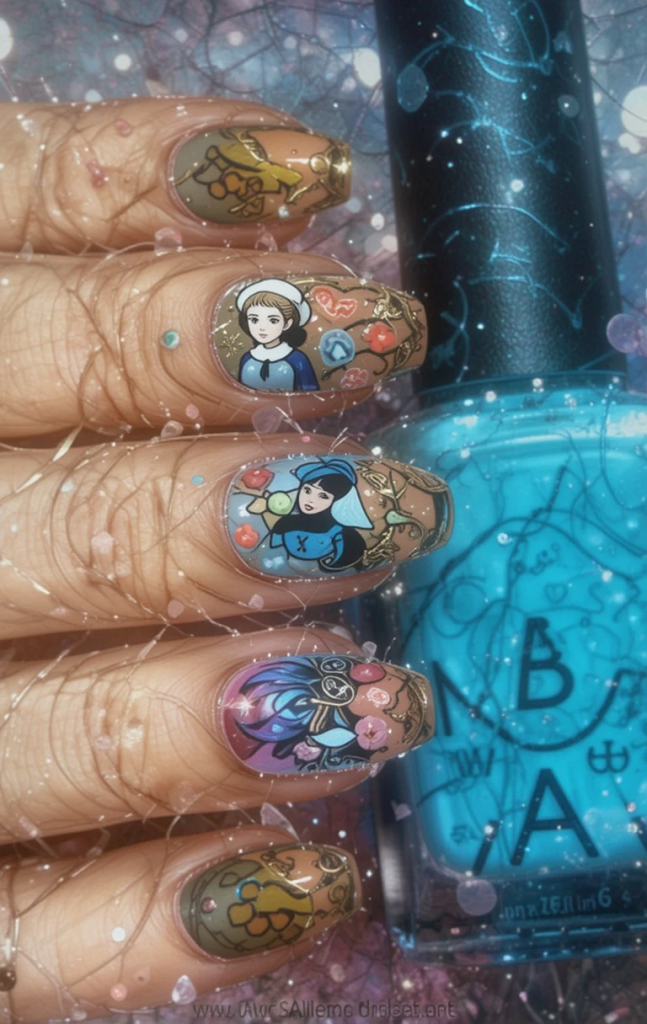
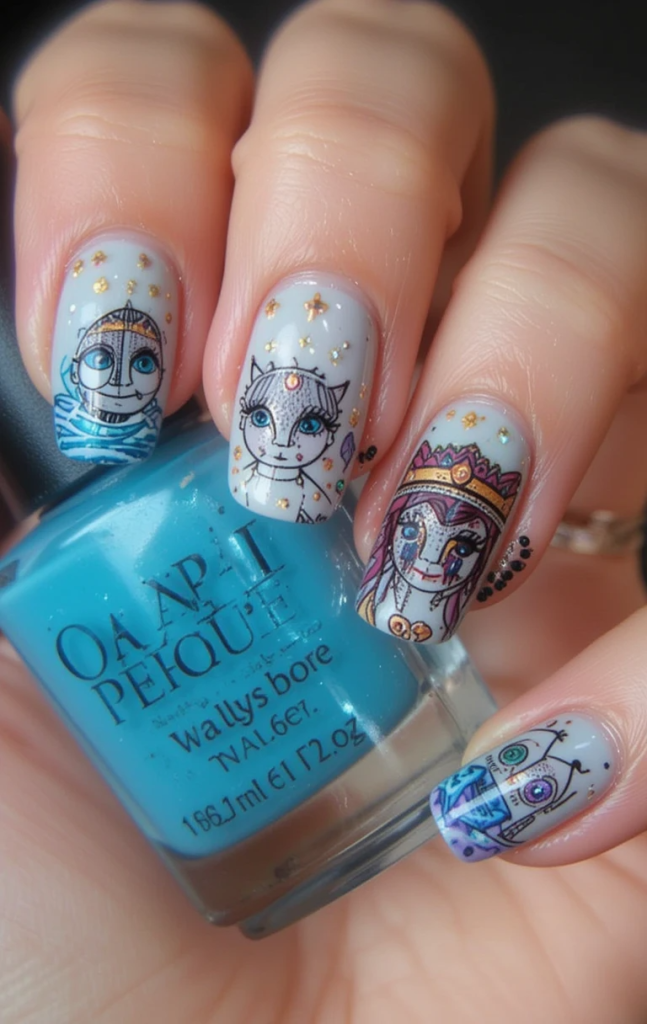
3. Fun and Playful
If you have a cheerful and bubbly personality, embrace bright colors and playful designs.
- Best Designs: Cartoon characters, polka dots, pastel gradients.
- Perfect For: Creative minds, youthful spirits, and those who love fun aesthetics.
4. Glamorous and Chic
For those who love luxury and elegance, choose designs that incorporate glitter, rhinestones, and metallic finishes.
- Best Designs: Gold foil nails, Swarovski crystal embellishments, ombré glitter.
- Perfect For: Socialites, fashion lovers, and glam enthusiasts.
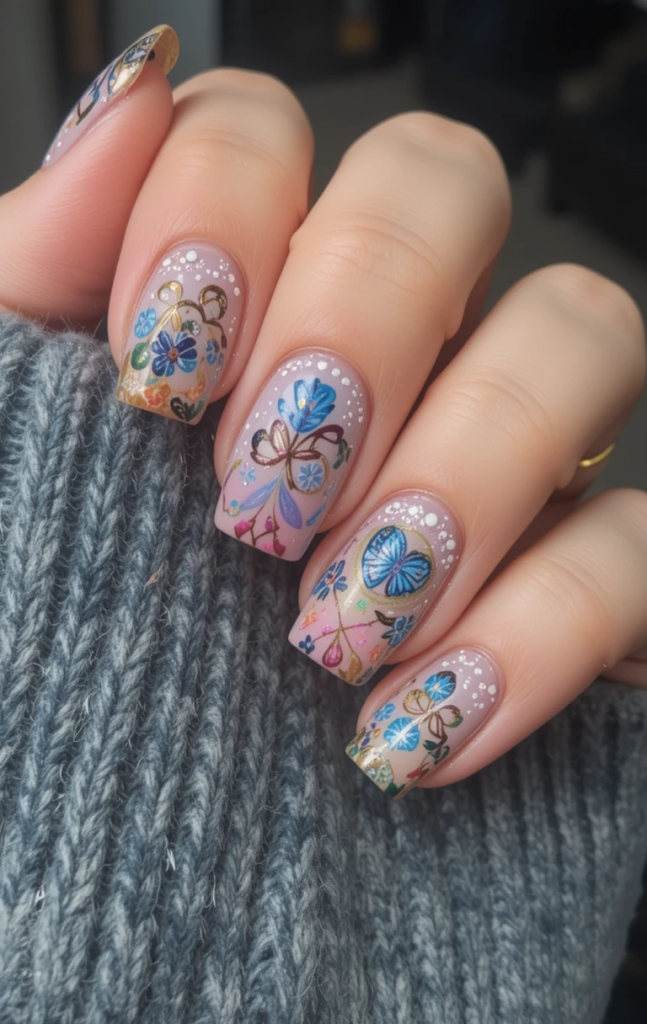
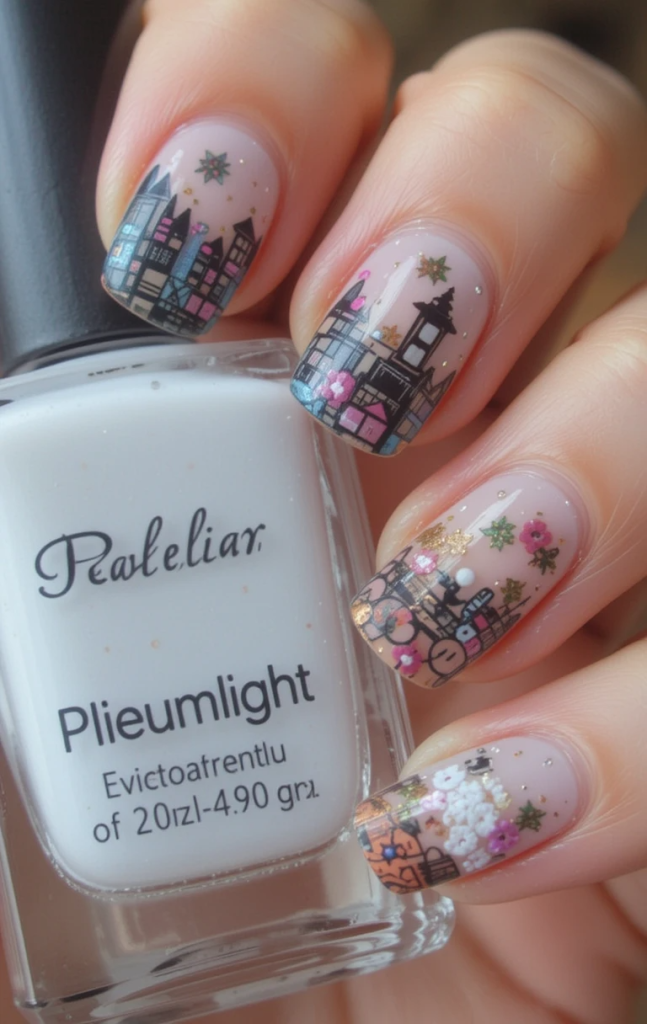
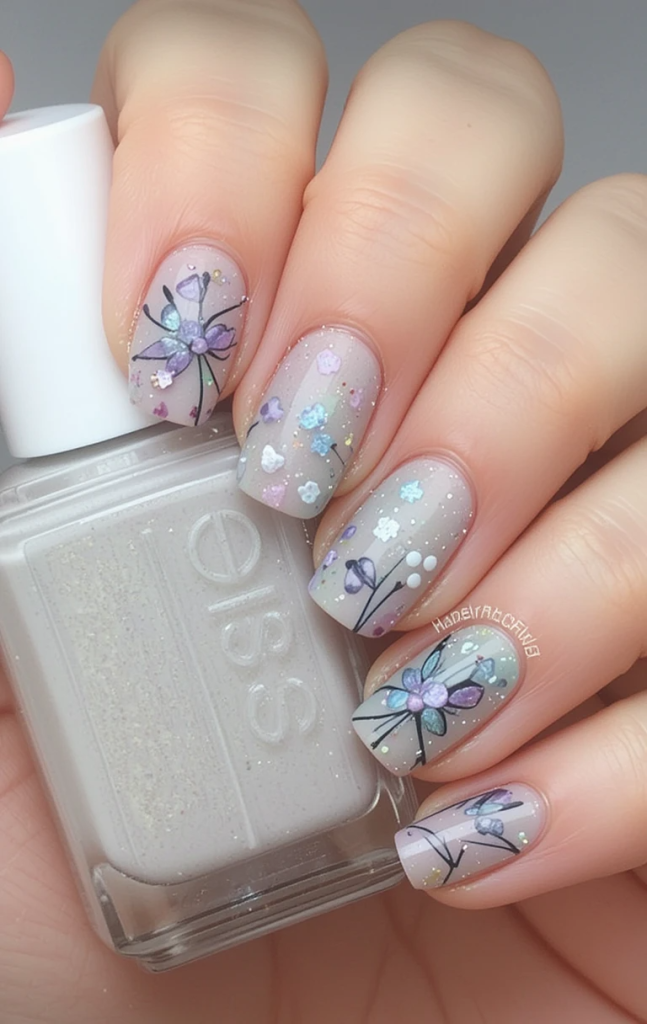
5. Nature-Inspired and Bohemian
For free-spirited individuals, earthy tones and nature-inspired elements are perfect.
- Best Designs: Floral patterns, leaf prints, watercolor effects.
- Perfect For: Nature lovers, artists, and bohemian souls.
Techniques for Creating Custom Nail Art
To create personalized nail art, you need to master different techniques. Here are some of the most popular methods:
1. Hand-Painting
Hand-painted designs allow you to create intricate and detailed patterns using thin brushes and nail polish.
- Tools Needed: Fine nail brushes, dotting tools, acrylic paint.
- Best For: Floral designs, abstract art, character illustrations.
2. Stamping
Nail stamping involves transferring pre-made patterns onto your nails using special plates and a stamping tool.
- Tools Needed: Stamping plates, stamper, nail polish.
- Best For: Geometric patterns, lace designs, repetitive motifs.
3. Marble Effect
The marble effect creates a sophisticated, swirled look using water or a thin brush.
- Tools Needed: Water, nail polish, thin brush.
- Best For: Elegant, abstract, or artistic designs.
4. Gradient and Ombré Nails
This technique blends two or more colors seamlessly for a stunning effect.
- Tools Needed: Makeup sponge, nail polish.
- Best For: Soft, blended, or vibrant transitions.
5. Rhinestones and Embellishments
Adding crystals, pearls, and metallic studs gives your nails a glamorous touch.
- Tools Needed: Nail glue, tweezers, embellishments.
- Best For: Luxury, red carpet-inspired nail art.
DIY vs. Professional Nail Art
Deciding whether to do your nails at home or visit a professional depends on your skill level, budget, and preference.
DIY Nail Art
- Pros: Affordable, creative freedom, convenience.
- Cons: Requires practice, may not last as long as professional nails.
Professional Nail Art
- Pros: Long-lasting results, professional finish, access to advanced techniques.
- Cons: More expensive, requires appointments.
Step-by-Step Guide to Creating Your Own Nail Art
Here’s a simple guide to help you design your personalized nails at home:
Step 1: Prepare Your Nails
- Trim and shape your nails.
- Push back cuticles and buff the surface.
- Apply a base coat for protection.
Step 2: Choose Your Design and Colors
- Select a design that reflects your personality.
- Pick complementary colors.
Step 3: Apply Your Base Color
- Apply two coats of your chosen base color.
- Let it dry completely.
Step 4: Create Your Design
- Use brushes, stamps, or tools to apply patterns.
- Experiment with different techniques.
Step 5: Add Embellishments (Optional)
- Use rhinestones, glitter, or stickers for extra flair.
Step 6: Seal the Design
- Apply a top coat for shine and longevity.
- Let it dry completely before using your hands.
Nail Care Tips for Long-Lasting Designs
To ensure your nail art stays flawless, follow these maintenance tips:
- Use a Quality Top Coat: This prevents chipping and adds shine.
- Moisturize Your Cuticles: Keeps nails healthy and strong.
- Avoid Excess Water Exposure: Wear gloves while washing dishes.
- Touch Up When Needed: Fix small chips with a clear coat.
- Give Your Nails a Break: Allow your nails to rest between designs.
Conclusion
Personalized nail art is a fun and creative way to express your individuality. Whether you prefer elegant, bold, or playful designs, there’s a style that suits your personality. By experimenting with different techniques and colors, you can create unique nail art that reflects who you are. So, grab your tools, unleash your creativity, and start designing your perfect nails today!


