Glow-in-the-Dark Nail Art: Designs That Shine at Night
Introduction
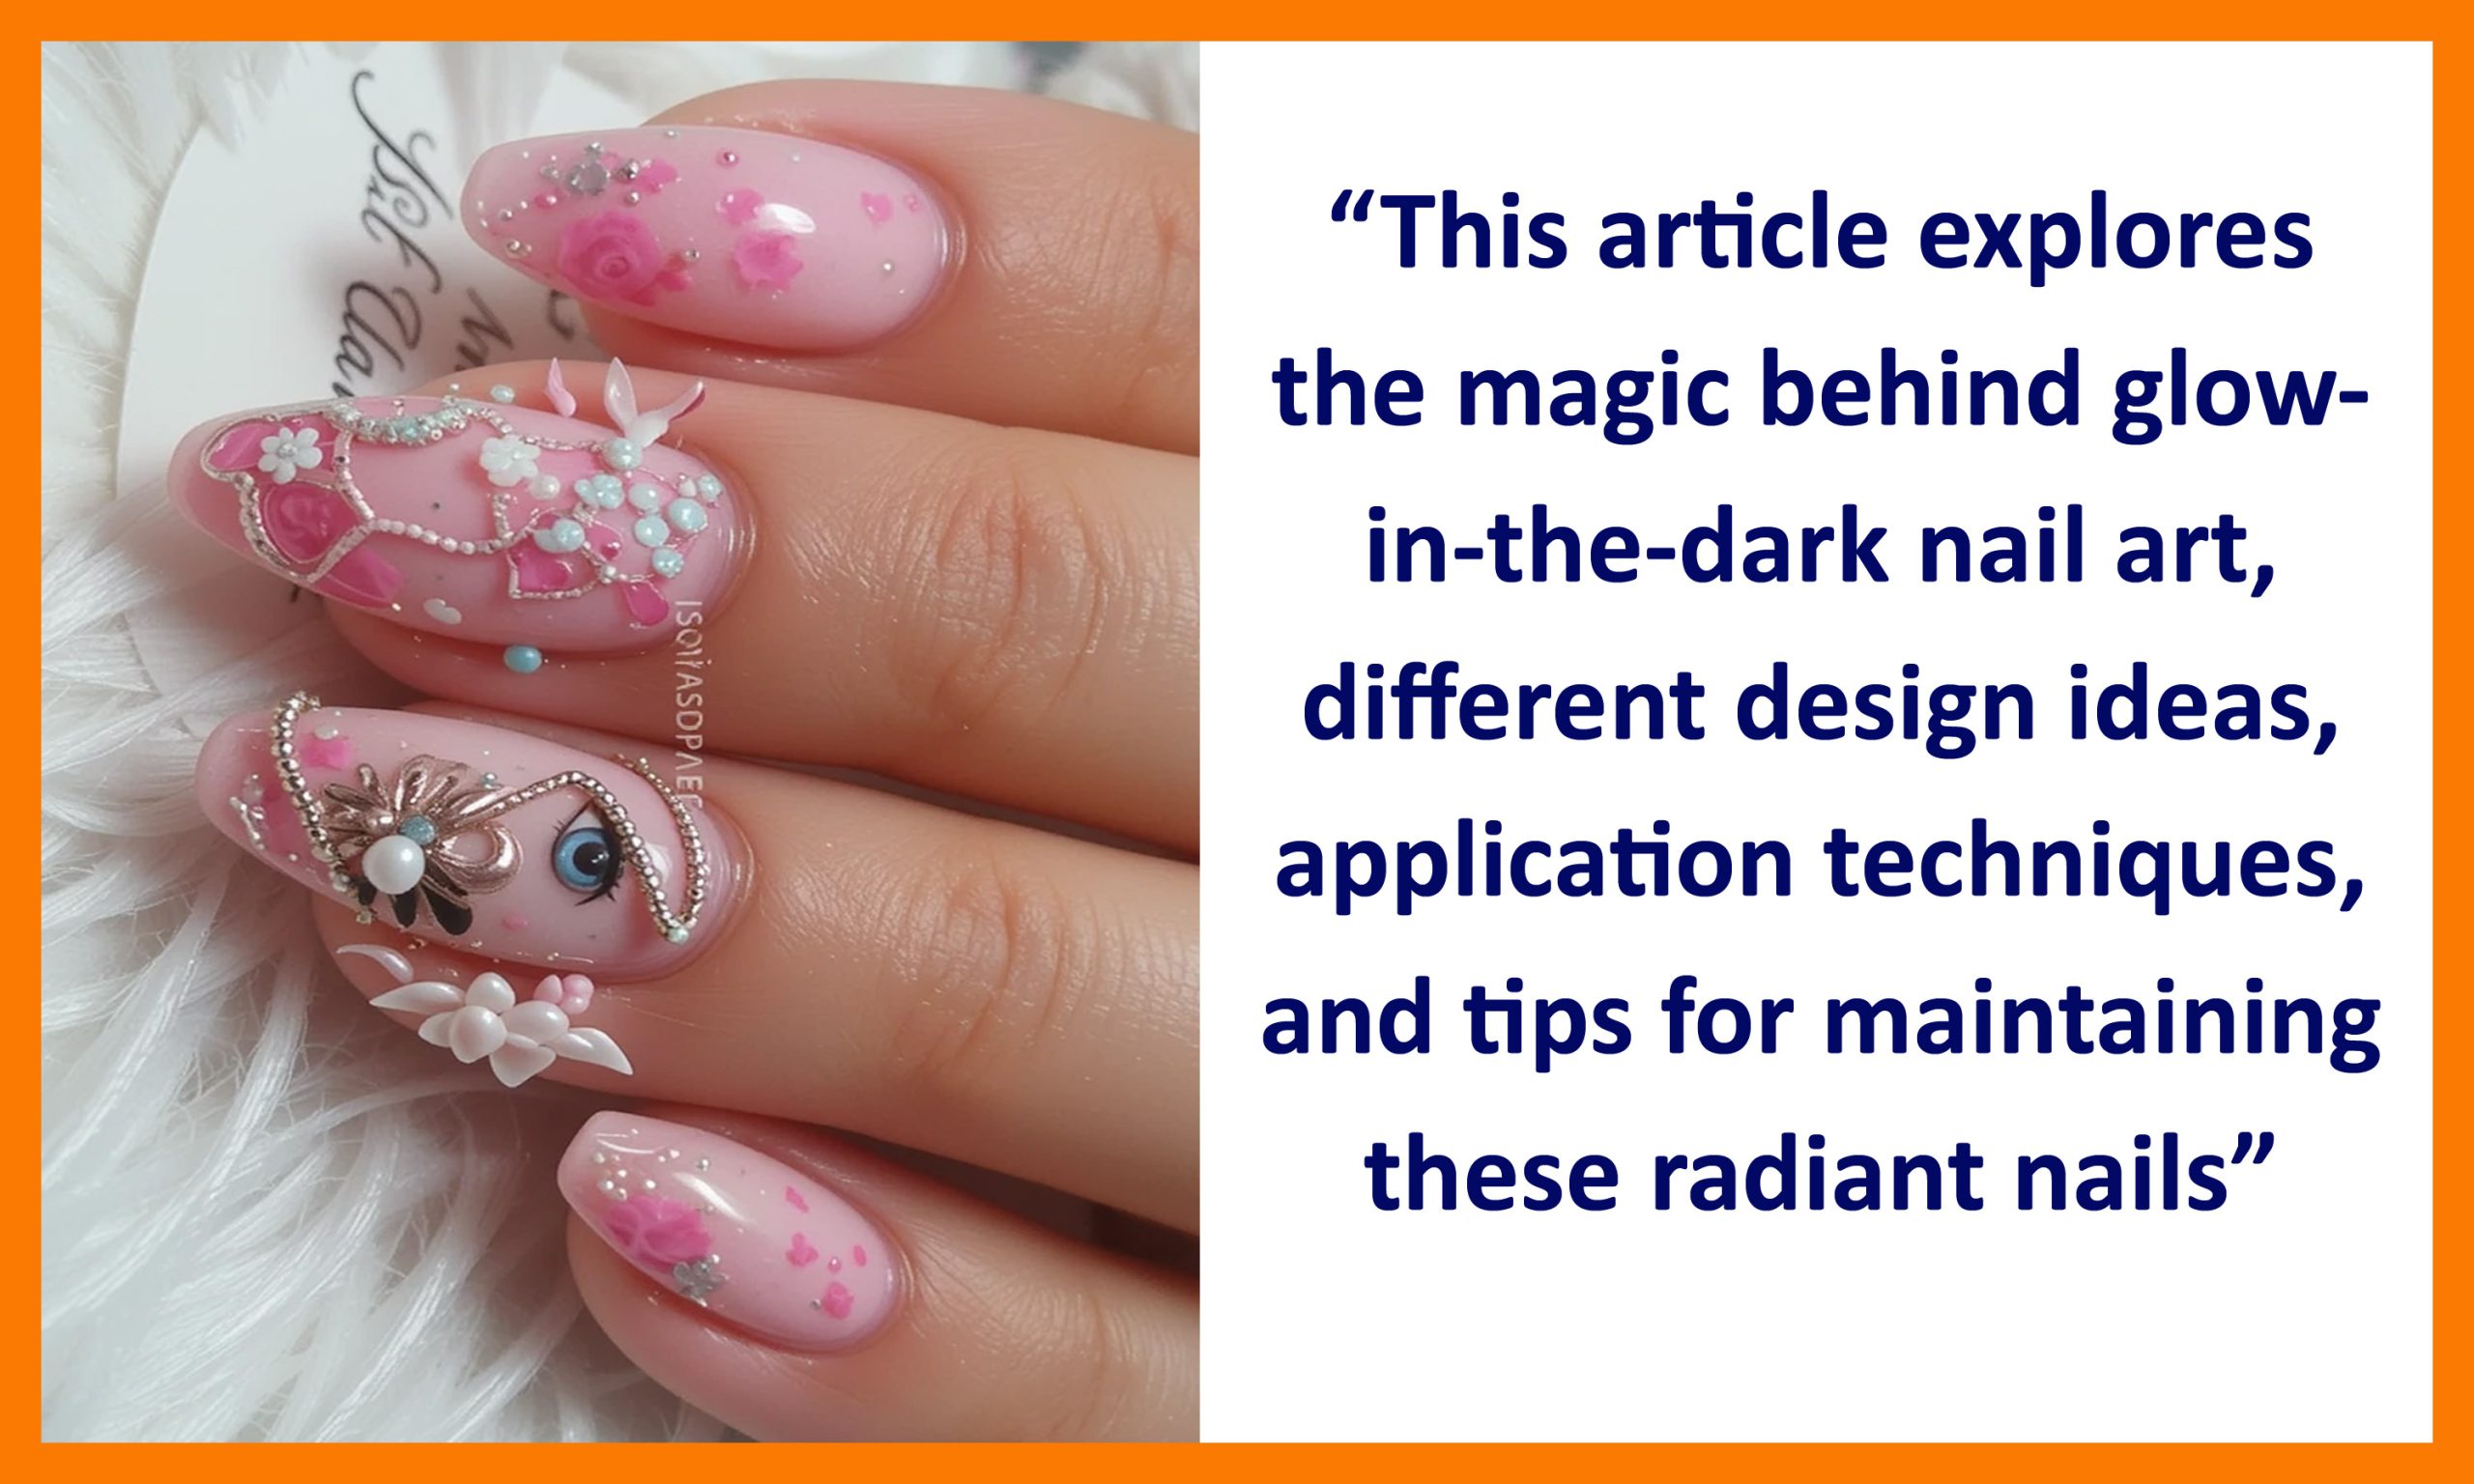
Nail art has evolved over the years, becoming a canvas for creative expression. One of the most captivating trends is glow-in-the-dark nail art, a stunning style that transforms nails into luminous works of art. These designs come alive at night, creating a mesmerizing effect perfect for parties, special occasions, and even casual fun. This article explores the magic behind glow-in-the-dark nail art, different design ideas, application techniques, and tips for maintaining these radiant nails.
The Science Behind Glow-in-the-Dark Nails
Glow-in-the-dark nail art relies on phosphorescent pigments that absorb light and emit it in darkness. These pigments contain phosphors that charge under natural or artificial light and glow once in the dark. The intensity and duration of the glow depend on the quality of the pigments and the duration of exposure to light. Most glow-in-the-dark polishes use safe, non-toxic phosphors, making them ideal for personal and professional use.
Types of Glow-in-the-Dark Nail Products
1. Glow-in-the-Dark Nail Polish
These polishes contain luminescent pigments that glow after exposure to light. They are available in various colors and finishes, from neon hues to subtle pastels.
2. Glow-in-the-Dark Nail Powder
Nail powders, often used in dip powder manicures or acrylic nails, provide a stronger glow effect compared to regular polish.
3. UV/LED Glow Gel Polish
These gel polishes require curing under a UV or LED lamp and offer a long-lasting glow effect. They are ideal for professional salon applications.
4. Glow-in-the-Dark Nail Stickers & Decals
Pre-made stickers and decals offer an easy way to achieve glow effects without applying polish or powder. They are available in various designs, from stars and moons to intricate patterns.
Popular Glow-in-the-Dark Nail Art Designs
1. Galaxy Nails
- Features deep blue, purple, and black backgrounds with glowing stars and planets.
- Achieved using sponge blending techniques and white glow pigments.
- Perfect for space lovers and sci-fi enthusiasts.
2. Neon French Tips
- Classic French manicure with a glowing twist.
- Uses glow-in-the-dark polish for the tips, contrasting against a nude or pastel base.
- Elegant yet playful, perfect for nighttime events.
3. Glow Marble Nails
- Mimics the look of swirling marble with luminous effects.
- Uses glow-in-the-dark powders blended into gel polish.
- Best achieved through a water-marbling technique.
4. Halloween-Themed Nails
- Designs featuring glowing ghosts, pumpkins, or spiderwebs.
- Ideal for Halloween parties and spooky-themed events.
- Often paired with blacklight-reactive polishes.
5. Firefly or Bioluminescent Nails
- Inspired by glowing insects and ocean creatures like jellyfish.
- Combines deep blues and greens with glowing specks to mimic bioluminescence.
- Creates a magical, ethereal look.
6. Glow Drip Nails
- Features dripping glow designs over a dark or transparent base.
- Looks as if glowing liquid is dripping down the nails.
- Works well with neon colors for a bold statement.
7. Starry Night Nails
- Inspired by Van Gogh’s painting or the night sky.
- Uses glow-in-the-dark stars and clouds over a dark blue or black base.
- Can be created using a dotting tool or fine brush.
How to Apply Glow-in-the-Dark Nail Art
Step 1: Prepare Your Nails
- Trim, file, and buff your nails for a smooth base.
- Apply a base coat to protect the natural nails.
Step 2: Apply the Glow-in-the-Dark Product
- Use a glow-in-the-dark polish, powder, or gel.
- For powders, mix them with clear acrylic or gel for easy application.
- Apply multiple thin layers, allowing each to dry properly.
Step 3: Create Your Design
- Use nail art brushes, sponges, or stamping tools for intricate designs.
- For galaxy nails, blend dark colors and add white glowing specks.
- For glow drip nails, create droplet shapes with neon or glow polish.
Step 4: Seal with a Top Coat
- Use a high-quality top coat to protect the design and enhance longevity.
- Some glow polishes require a matte top coat for better light absorption.
Step 5: Charge Your Nails
- Expose your nails to bright light (UV, LED, or natural sunlight) before going out.
- The longer they charge, the brighter they will glow.
Tips for Maintaining Glow-in-the-Dark Nails
- Re-charge nails regularly by exposing them to strong light sources.
- Use a non-yellowing top coat to keep the glow effect vibrant.
- Avoid excessive water exposure, as it can dull the polish.
- Store glow-in-the-dark polishes properly to prevent pigment separation.
- Touch up when necessary, especially for gel-based designs.
Best Occasions for Glow-in-the-Dark Nail Art
Glow-in-the-dark nails can be worn on various occasions, including:
- Music Festivals & Raves: Enhances the fun under black lights.
- Halloween & Costume Parties: Complements spooky and fantasy themes.
- Nightclubs & Bars: Glows beautifully in dim lighting.
- Weddings & Formal Events: Subtle glow designs can add elegance.
- Casual Fun & Everyday Wear: Simple glow tips or accents work for daily wear.
DIY vs. Professional Glow-in-the-Dark Nails
DIY Glow Nails:
- More affordable and allows creative freedom.
- Requires patience and proper technique.
- Suitable for simple designs and short-term use.
Professional Glow Nails:
- Done by experts using high-quality materials.
- Lasts longer and provides a more polished look.
- Ideal for intricate designs and special occasions.
Conclusion
Glow-in-the-dark nail art is an exciting trend that adds a luminous touch to any look. Whether you prefer subtle glowing accents or bold neon designs, there are endless possibilities to explore. By using the right products, application techniques, and maintenance tips, you can enjoy stunning nails that shine beautifully in the dark. Whether for a party, holiday, or just for fun, glow-in-the-dark nails are a fantastic way to express creativity and stand out in any crowd.


